
How to Turn Your Roblox Avatar into a Minecraft Skin
Turn a Roblox avatar screenshot into a Minecraft skin. Keep key details, simplify accessories, and review both sides before generating a 64×64 PNG.
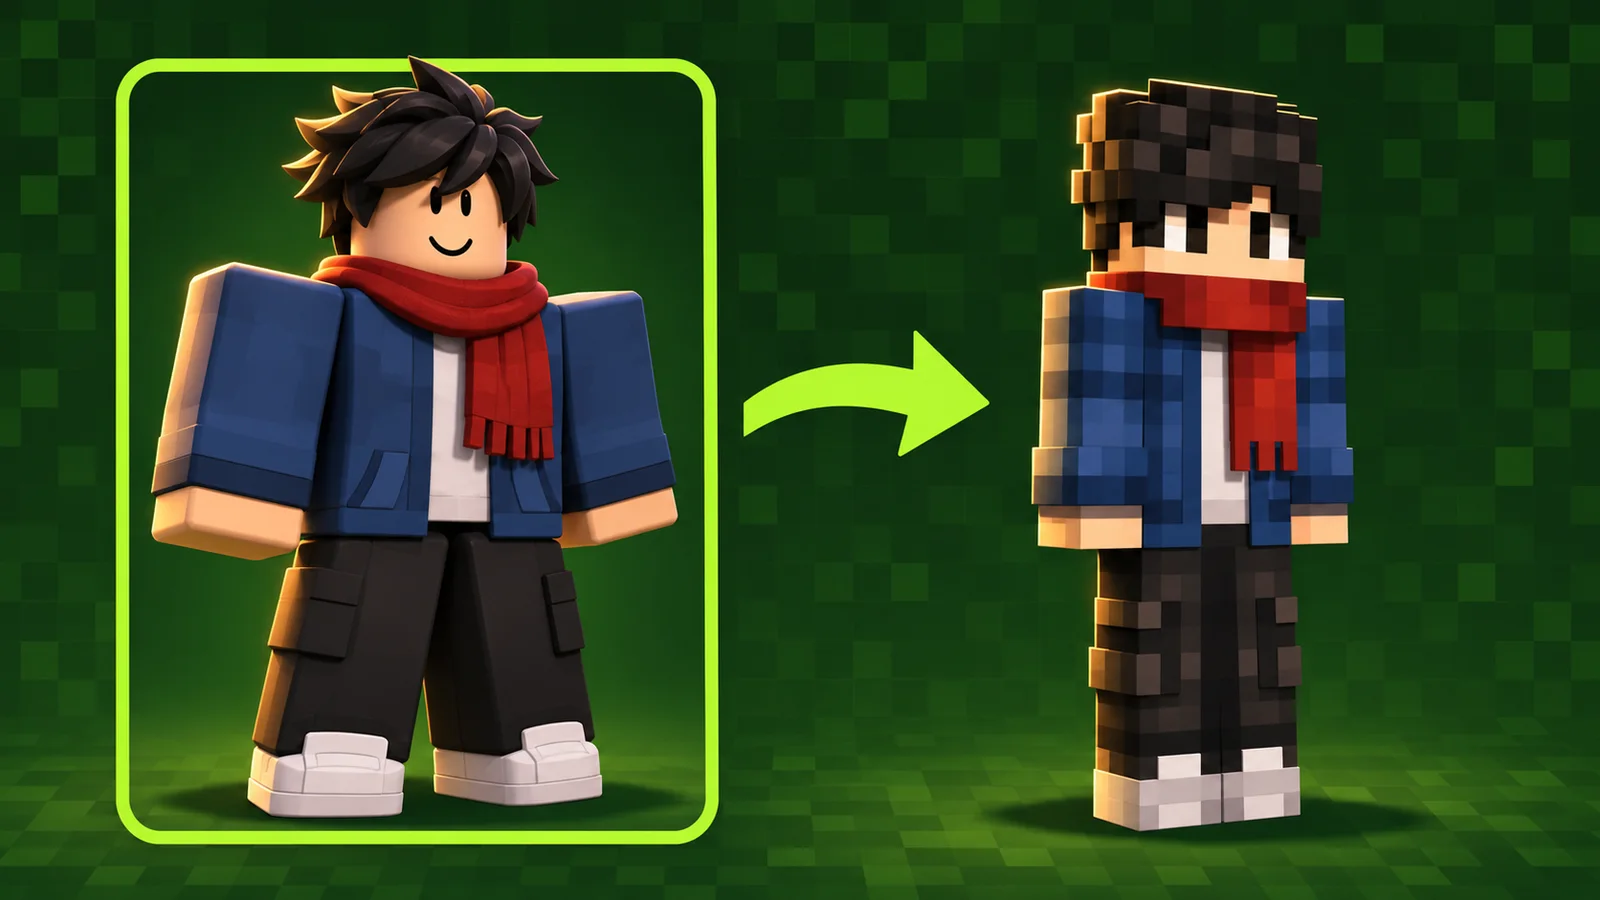
Your Roblox avatar may already have a recognizable hairstyle, favorite outfit, and signature colors. You can use that look as the reference for a Minecraft character without recreating every detail by hand.
Start with one clear avatar screenshot, describe the features to keep or change, and create a preview with Photo to Skin. Review both sides before generating the skin. The aim is a recognizable Minecraft interpretation; AI does not guarantee an identical face, outfit, or set of pixels.
Use a screenshot you own or have permission to use.
Here is how to prepare the reference, simplify accessories, and guide the result with useful prompts.
The cover is an AI-generated concept illustration. It does not show a tested conversion or an importable skin texture.
Understand what transfers from Roblox to Minecraft
A screenshot supplies visual information: hair color, clothing, face details, and accessories. It does not transfer your Roblox inventory or account assets.
Roblox’s accessory documentation explains that accessories can contain meshes, textures, and attachment points. A standard Minecraft skin works differently: it is a flat PNG texture wrapped around the player, as described in Minecraft’s official skin guide.
That difference shapes the design. A large pair of wings can inspire a feather pattern on the back, but a skin PNG does not add wing geometry. A scarf can become a colored neck-and-chest detail. Choose the features that make the avatar recognizable within Minecraft’s character shape.
Take one clear screenshot of your avatar
Prepare the outfit you want to use before capturing the reference. If an accessory hides the face or clothing, you can temporarily remove it in Roblox; the official avatar customization instructions explain how to add and remove worn items.
For the screenshot, aim for:
- A visible face and hairstyle, without a helmet or effect covering them.
- The full body, including sleeves, trousers, and shoes.
- A front or slight three-quarter view with little overlap between body parts.
- A simple background and a crop that leaves the whole character inside the image.
You can inspect the back separately to help write your description. This workflow uploads one reference image; describe unseen rear details in words. Keep the screenshot clear enough to compare with the generated preview later.
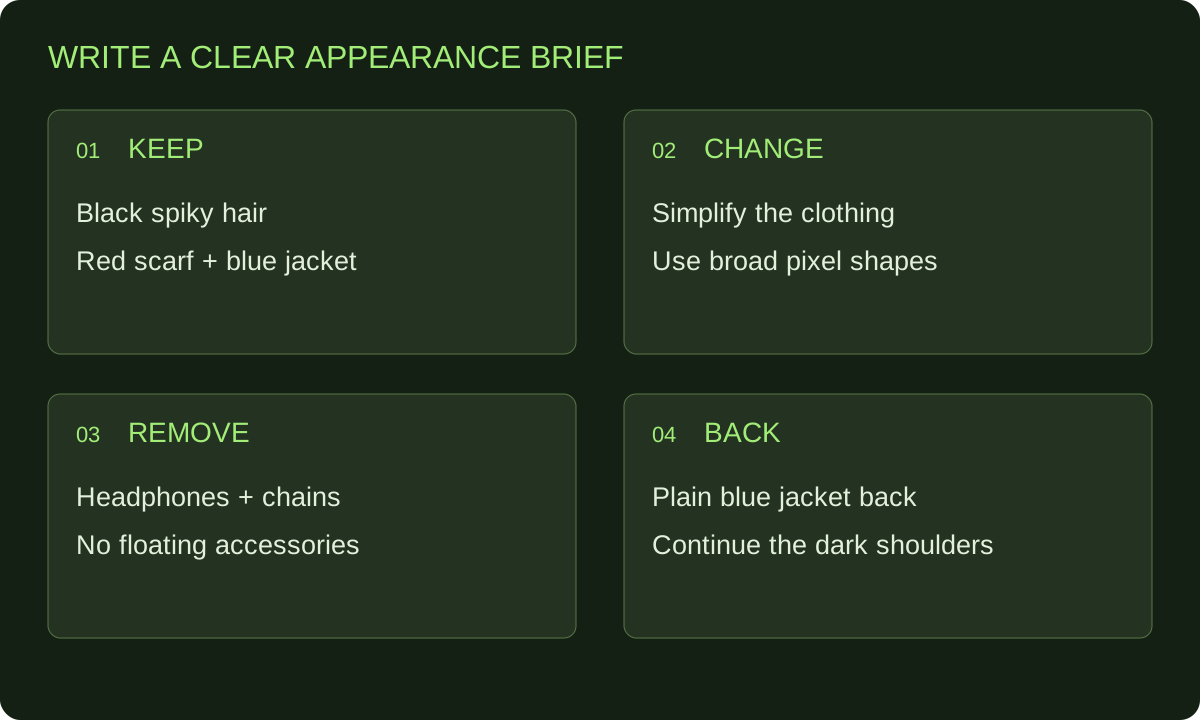
Illustrated planning checklist; this is not a product screenshot or a generated skin.
Tell the AI what to keep, change, remove, and show on the back
Before generating, choose three or four identifying features. These might be black spiky hair, a red scarf, a blue jacket, and white shoes. Make them explicit instead of relying on “make it look like my avatar.”
Adapt these prompts to the hairstyle, clothing, and accessories in your screenshot.
Prompt 1 Keep the outfit and remove distracting accessories
KEEP: Make a Minecraft version of the reference Roblox avatar.
Aim to preserve the black spiky hairstyle, face colors, red scarf,
blue jacket, dark trousers, and white shoes.

CHANGE: Simplify the clothing into clear pixel-art shapes that fit
Minecraft’s normal player body. Keep the face easy to recognize.

REMOVE: Remove the headphones and waist chains. Do not add a helmet,
backpack, or floating accessories.

BACK: Continue the blue jacket and its dark shoulder panel across
the back. Keep the scarf as a short neck detail. No large back emblem.
Naming unwanted accessories matters when they are prominent in the screenshot. It also gives you a clear pass-or-revise decision when you see the result.
Prompt 2 Give the same Roblox character a different outfit
KEEP: Aim to retain the reference avatar’s copper hair, green eyes,
face colors, and small blue hair clip.

CHANGE: Replace the current clothes with a navy winter coat,
cream cuffs, charcoal trousers, and brown boots.

REMOVE: Remove the old hoodie, headphones, and neck chain.
Keep the head uncovered.

BACK: Use a plain navy coat back with the hood resting down.
Continue the cream hem around the body. No backpack or cape.
Use this variation when you want a new Minecraft outfit for an existing character. Check the identifying features again; asking to keep them is a direction, not an identity lock.
Prompt 3 Correct an unclear rear design
KEEP: Aim to preserve the reference avatar's black spiky hair,
face colors, red scarf, blue jacket, dark trousers, and white shoes.

CHANGE: Make the jacket color consistent around the torso.

REMOVE: Remove the headphones, waist chains, extra rear straps,
and back emblem.

BACK: Use a plain blue jacket back with a dark shoulder panel.
Keep the jacket hem at the same height on the front and back.
Fold the correction into your existing instructions so the next request still includes the features you want preserved.
Generate the preview before making the skin
Choose Photo to skin in the generator and upload your screenshot. Enter your adapted prompt in Appearance changes.
Generate the front and back preview, then compare it with your reference. Start with the hair and face, followed by the outfit colors. Look for accessories that survived a removal instruction and rear details that conflict with the front.
If the design needs work, revise the instructions and generate another preview. A focused correction—“restore the short fringe and remove the headphones”—gives you a specific change to assess.
Once the design is ready, confirm conversion into the 64×64 skin PNG. The character preview helps you choose the appearance; the final PNG is the texture to inspect and download.
Simplify large accessories without losing the idea
Treat prominent accessories as design choices rather than objects that must survive unchanged. Use this table to decide what to request:
| Roblox feature | Minecraft skin direction |
|---|---|
| Large wings | A compact feather motif on the jacket’s back. |
| Long scarf or cape | A scarf-colored neck detail or a painted coat-back pattern. |
| Oversized headphones | Small ear-pad markings, or remove them to show the hairstyle. |
| Helmet with horns | Helmet colors and shading on the head; simplify or omit projecting horns. |
| Layered jacket with bulky sleeves | Clear jacket colors, cuffs, and sleeve shading on the normal arms. |
Texture and the standard outer layer can suggest depth, but this workflow does not create new Roblox-style meshes or a separate Minecraft cape. Decide whether a detail remains recognizable after simplification. Sometimes one strong color or pattern carries the idea better than many tiny marks.
Check the final skin and finish small details
Rotate the generated character and inspect the back, sleeves, sides, and shoes. Check the hairstyle and eye placement again at the final skin resolution. If the whole design feels wrong, revisit the appearance instructions; reserve manual work for small corrections.
For an eye, cuff, or seam, open the result in the Minecraft Skin Editor. Download a copy when finished. Choose the matching Classic or Slim model when importing into Minecraft; the official skin guide explains the two arm shapes.
If you are unsure why the screenshot itself cannot be imported as a skin, the photo-import guide explains the difference between a reference image and an unfolded texture.
Frequently asked questions
Can I enter my Roblox username instead of uploading a screenshot?
This workflow starts from an image. Prepare a screenshot of the avatar you want to recreate and provide appearance instructions; it does not import your Roblox account or inventory.
Will every accessory look exactly the same?
No. Review the resemblance, simplify large shapes, and decide which details matter most. The final skin follows Minecraft’s model rather than your Roblox avatar’s original geometry.
Can I use a ChatGPT-generated image of my Roblox avatar?
If you already have a character image, you can use it as the reference. Our ChatGPT image-to-skin guide covers that starting point. Check that it still shows the Roblox features you want. A character illustration still needs conversion into a skin texture.
Does this work for Java and Bedrock?
Use the finished PNG with the appropriate skin-import process. Match the model in Java. Bedrock custom-image imports depend on the device, so check your platform’s current support before generating solely for that destination.
Does AI generation use credits?
Yes. At the time of writing, a preview costs one credit and conversion costs two more. Additional previews use additional credits. Check the current credit requirements displayed in the generator before starting.
Bring your Roblox look into Minecraft
Choose the hair, clothes, and colors you want people to recognize. Describe the back and simplify accessories that depend on a different body shape. Generate your Roblox-inspired Minecraft preview, review the design, and turn it into your next skin.