
How to Combine Two Minecraft Skins with AI
Combine two Minecraft skin designs with AI. Prepare one reference image, specify the head and outfit to keep, then preview and generate your new skin.
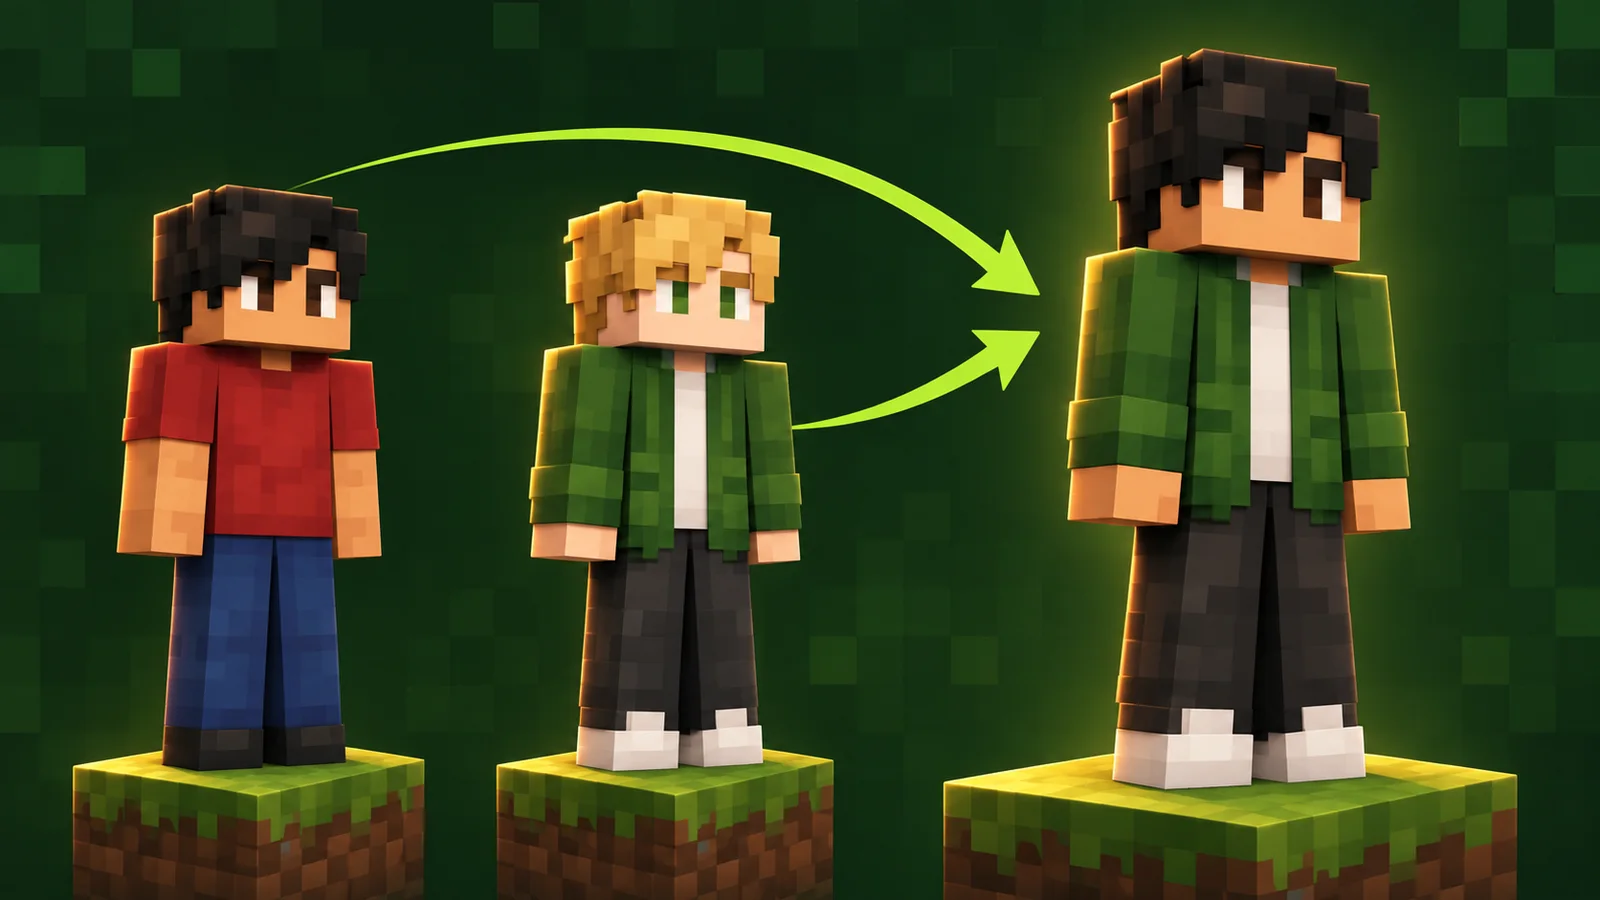
Want the face and hair from one Minecraft skin with the outfit from another? For an AI remix, try placing clear views of both skins in one reference image, then assign the face and outfit sources in your prompt. Check how well the preview follows those choices before generating the downloadable skin.
The current Photo to Skin uploader takes one image at a time. A reference sheet lets you include both designs in that image. This guide shows how to prepare it, write a useful combination prompt, and check the result.
AI generation can reinterpret colors, shapes, and details. If your goal includes keeping an original face pixel for pixel, save the source PNG for a precise final edit.
The cover is an AI-generated concept illustration. It does not show a tested conversion or an importable skin texture.
Step 1: Decide what each skin contributes
Use skins and reference images you own or have permission to remix.
Give each reference a job before you upload anything. A direction such as “combine these skins” leaves the model to decide whose face, clothes, and accessories matter.
Use a short plan like this:
| Feature | Source | Instruction |
|---|---|---|
| Face and skin tone | Skin A | Keep the brown eyes and warm skin tone |
| Hair | Skin A | Keep the short black hair and side fringe |
| Jacket and trousers | Skin B | Use the green jacket and dark trousers |
| Shoes | Skin B | Keep the white shoes |
| Hat | Neither | Leave the head uncovered |
| Back of jacket | New detail | Use plain green with no logo |
Choose one source for each important feature. If both references have different hairstyles, tell the AI which one to follow. If you want a new color, describe the final color rather than asking it to somehow preserve two conflicting versions.
You can also combine one skin's outfit shape with the other skin's palette. The key is to explain the relationship between the references.
Step 2: Put both skin designs into one reference image
Use clear pictures of the characters wearing their skins. A screenshot from a skin viewer can show the face, hair, jacket, and shoes together. If you only have the flat texture PNG, open it on a matching player model first so you can capture the appearance you want the AI to follow.
Create a simple reference sheet in an image or presentation editor:
- Put Skin A on the left and Skin B on the right.
- Show both characters at a similar size, without cutting off the head or feet.
- Leave space between them and use an uncluttered background.
- Add small labels above the figures: A — character and B — outfit.
- Export the whole sheet as one JPG, PNG, or WebP image.
If the back of Skin B has an important design, include a clear back view beside its front view. Keep the source labels consistent. Otherwise, describe the back you want in the prompt.
The reference sheet is an input for designing the new character. You will generate a separate skin PNG later. Minecraft's official skin guide explains that an importable skin uses an unfolded texture layout; a picture of two characters does not have that layout.
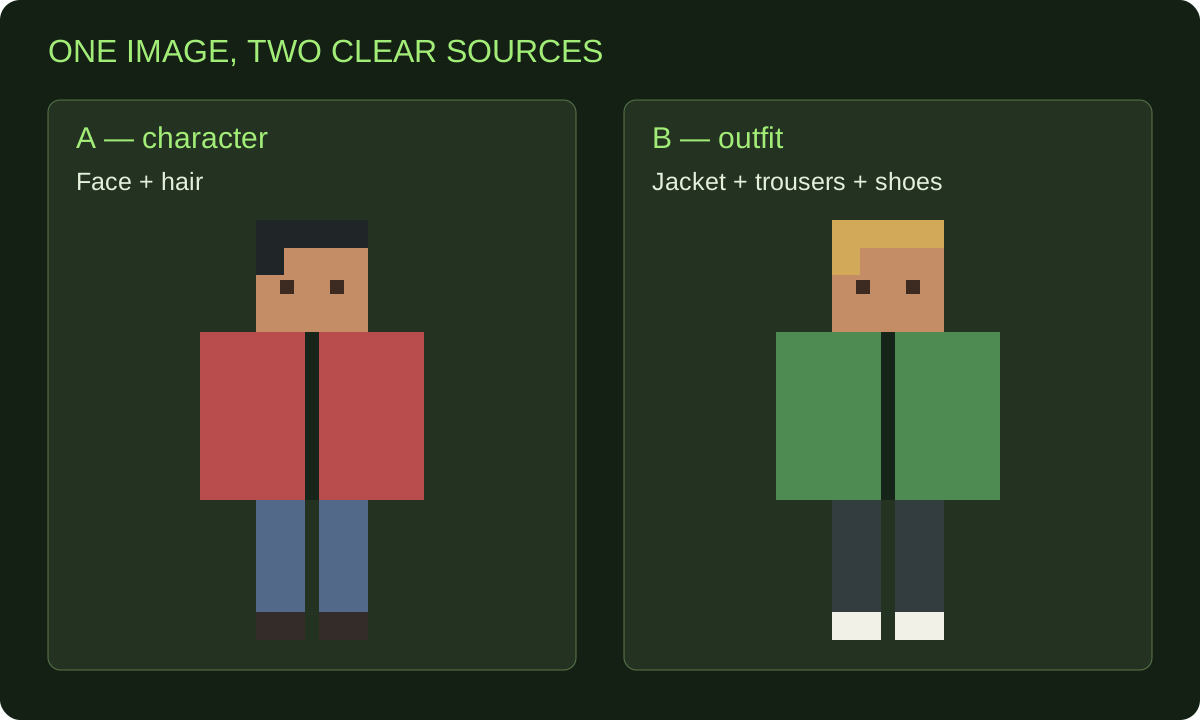
Illustrated reference-sheet template, not a tested AI result. Match these left/right labels in your prompt.
Step 3: Upload the reference and specify the combination
Select Photo to skin in the generator and upload the reference sheet. Add your instructions in Appearance changes.
State that you want one character, identify each reference by both its label and its position, and list the features to take from each. Here is a starting prompt:
Create one Minecraft character using the two references in this image. From Skin A on the left, keep the warm skin tone, brown eyes, short black hair, and side fringe. From Skin B on the right, use the green jacket, dark trousers, and white shoes. Leave out both hats. Make the jacket green on the back with no logo. Show the same combined character from the front and back. Do not include the reference labels in the design.
Replace the descriptions with what actually appears in your images. “Skin A” is useful only if the uploaded sheet makes that reference identifiable.
Here are two other ways to direct the remix.
Borrow the outfit shape and change its colors
Use the character on the left as the reference for the face, skin tone, and hairstyle. Use the outfit on the right as the reference for the long coat, belt, trousers, and boots. Make the coat navy with red trim, the trousers charcoal, and the boots brown. Keep the back of the coat navy with a narrow red stripe. Create one character without a helmet or weapon.
This gives the new skin a coherent palette while retaining the clothing details you selected.
Keep your character and design a new outfit
Keep the reference character's brown skin, dark curly hair, green eyes, and red headband. Replace the existing clothes with a cream hoodie, olive cargo trousers, and brown boots. Keep the back of the hoodie plain cream. Remove the shoulder armor and backpack. Use simple clothing details that remain readable on a Minecraft skin.
For this version, you can use a single picture of your existing character. The clothing description supplies the new design, so a second outfit reference is optional.
Step 4: Check whether the preview follows your choices
Generate the front and back preview, then compare it with your feature plan. Start with the face and hair before judging the outfit.
Look for four things:
- Character: Does the face, hair, and skin tone follow Skin A?
- Clothing: Are the jacket, trousers, and shoes from the intended reference?
- Consistency: Do the front and back show the same clothing and colors?
- Unwanted details: Did a hat, label, weapon, or second character appear?
If the result mixes the faces, strengthen the source assignment in the full prompt: “Use only Skin A on the left for the face and hairstyle. Use Skin B only for clothing.” Keep the rest of your instructions so the next preview still has the complete design brief.
If the outfit is correct but an accessory remains, name the accessory and the replacement: “Remove the blue headphones and leave the black hair visible around both ears.” Review the new preview for other changes before converting it.
AI generation requires an account and credits. The current pricing lists 1 credit per preview and 2 additional credits to convert an approved preview into a skin. Each new preview has its own cost, so settle the main design choices before confirming the conversion.
Step 5: Generate the skin and inspect the actual texture
Once you like the preview, generate the skin PNG. Photo to Skin produces a 64×64 texture that you can inspect on a 3D character and download.
Check the generated skin itself. Fine details can change when the approved appearance becomes a small texture. Pay particular attention to eyes, hair edges, the neckline, cuffs, and shoes. Rotate the character to inspect the sides and back, including where the jacket meets the trousers.
Use the skin editor for small finishing changes, such as correcting an eye color or cleaning up a sleeve edge. Keep your original PNGs if you want to restore a particular detail exactly. Manual editing is free.
Download the final skin PNG and select the matching Classic or Slim model when importing it into Minecraft. For input or file problems, use our skin import guide.
Frequently asked questions
Can I use the head from one skin and the body from another?
Use the head and body sources as separate instructions in your design brief. AI may redraw the features, so compare the preview carefully. If every original head pixel must remain identical, keep that PNG for manual editing.
Can I upload two separate skin files to Photo to Skin?
The current Photo to Skin input accepts one image. Put views of both skins into a single reference sheet and upload that file. Your prompt can then refer to the left and right designs.
Is an AI remix the same as copying skin layers?
An AI remix generates a new interpretation of the selected design features. Copying texture regions preserves the original pixels. Choose the AI workflow when you want a new combined look, and use precise texture editing where unchanged pixels are essential.
Can I combine a Classic skin with a Slim skin?
You can use pictures of both as design references. The result still needs to fit the model you intend to use. Check the final arm and sleeve textures, and use the same model setting when importing the PNG into the game.
Why did the AI change my face as well as my clothes?
The face may be unclear in the reference, or the prompt may leave the two sources ambiguous. Use a clearer view of the intended face and state which reference supplies it. Preserve that instruction when revising the outfit prompt.
Create your combined character
Choose the face you want to keep, the outfit you want to borrow, and one or two changes that will make the design yours. Upload your reference image, review the proposed combination, and generate your new Minecraft skin when the appearance is ready.
If your starting reference is character artwork, follow the ChatGPT image-to-skin workflow. For a game-avatar screenshot, use the Roblox avatar guide.